|
|
|---|
Find helpful equipment reviews over at Garagegymreviews.com.
I ordered the parts at Aliexpress: Cable Pulley + Handles (e.g. the 3 or 5 D ring style), metal loading pin - they also offer pulleys. Instead of cable I use some used climbing rope. You can often get this for free from climbers or climbing gyms, if you promise not to use it for climbing.
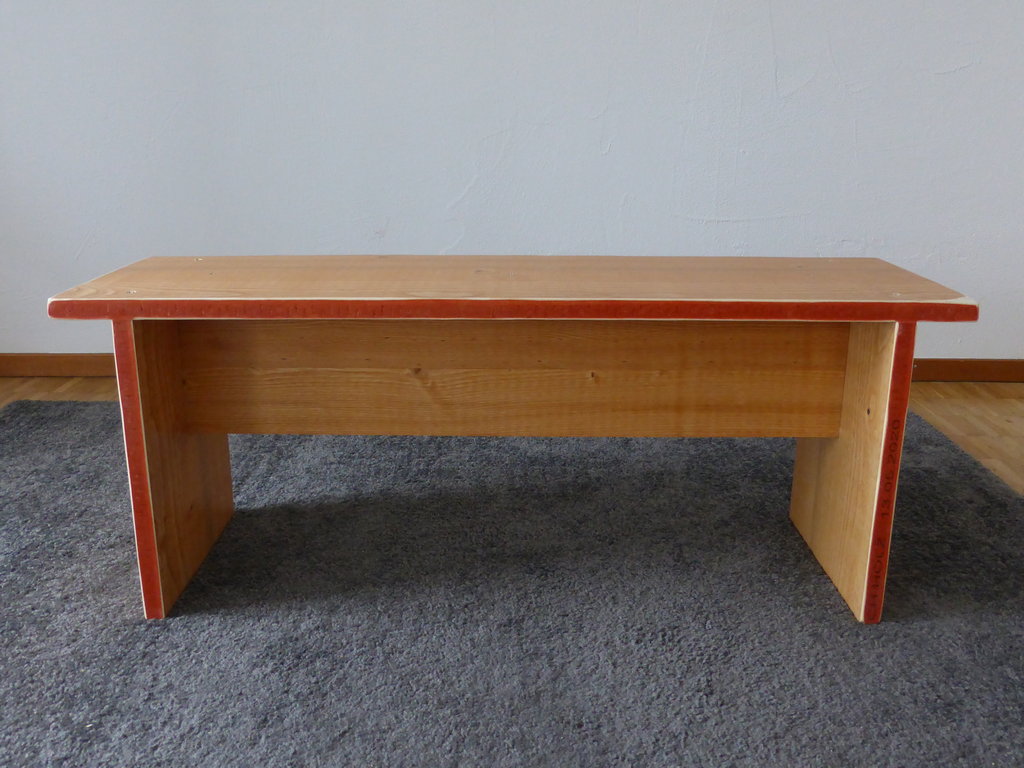
My design is based on inexpensive 3 ply wood panels used in Europe for concrete formwork (about $25). In America, use a 2x12 and 2x6 instead, or leftover pieces of thick plywood used for floor underlayment. Avoid pressure-treated lumber, the chemicals used could cause skin allergies.
Material and tools needed:
Cut at your DIY store, in a wood shop, or with a track guided saw (if you buy a saw, much more versatile than a table saw):
For a smaller bench, you could shorten the upper part and the brace by 100 mm, and adjust the sides to the length of the lower legs (foot to inside knee).
On the bottom side of the upper part, mark the position of the sides (100 mm from the end). Mark the edges of the brace (300 mm - 27 mm thickness)/2 = 136.5 mm. Clamp scrap pieces to the upper part to hold the brace in position. Turn over, support with the remainder piece.
Mark 3 holes on the midline of the upper - about 15 cm from the ends, and in the center. Make sure that the brace is in the correct position, and square to the upper part. Then drill, countersink and screw.
Mark 2 holes on the upper for the side panels - 100 mm minus half material thickness = 86.5 mm distance from the end. Keep about 35 mm space from the side. Position the side parts so they are snug to the brace. Sit on top so things don't shift, then drill, countersink and screw.
The side panels are connected to the brace with two screws each. Mark the holes with about 35 mm distance from the upper and lower edge of the brace. Drill, countersink and screw.
Finally round all corners and edges with a sander.
Too complicated ? Attach a board on top of two equal size wine crates, plastic containers or similar.